![](https://hedberghome.com/wp-content/uploads/Mortar-Page-Banner-Image_web.jpg)
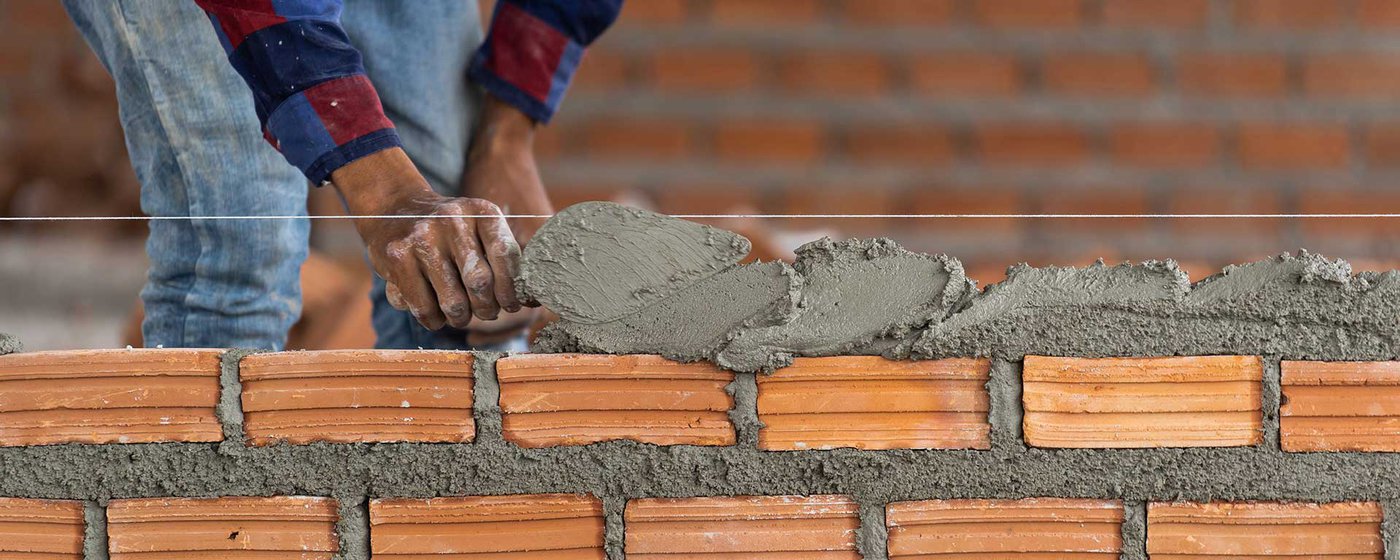
MORTAR MAKES AN IMPACT
Decisions about mortar color and installation techniques will make an impact on the overall look of the project. No matter your choice of veneer, the mortar details you choose will add immediate dimension and visual interest.
COMMON MORTAR TECHNIQUES
![](https://www.hedberghome.com/wp-content/uploads/standard-joint-mortar-treatment-options-hedberg-1.jpg)
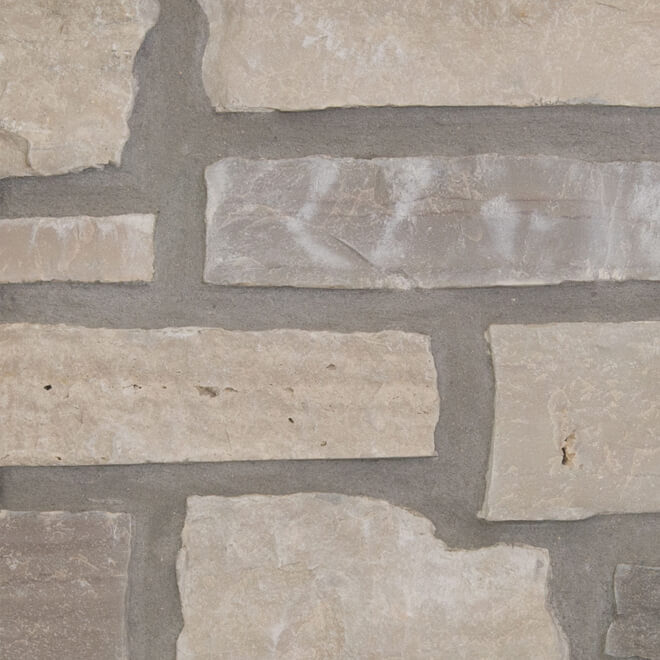
Mortar is struck slightly back from the face of the stone.
![](https://www.hedberghome.com/wp-content/uploads/standard-raked-joint-mortar-treatment-options-hedberg.jpg)
Mortar is carved out more deeply, giving more depth and dimension.
![](https://www.hedberghome.com/wp-content/uploads/standard-flush-joint-mortar-treatment-options-hedberg.jpg)
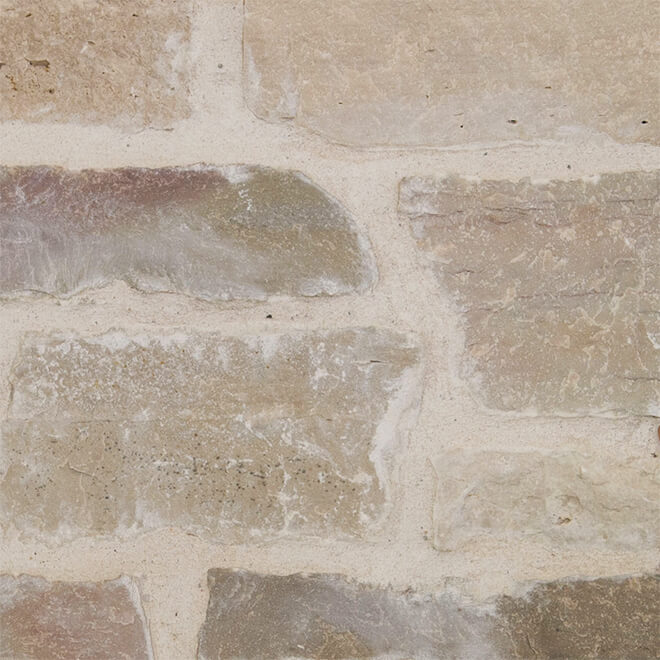
Mortar is cut flush with the face on the majority of the stones; some mortar may overlap stone’s edges.
![](https://www.hedberghome.com/wp-content/uploads/over-grout-joint-treatment-options-hedberg.jpg)
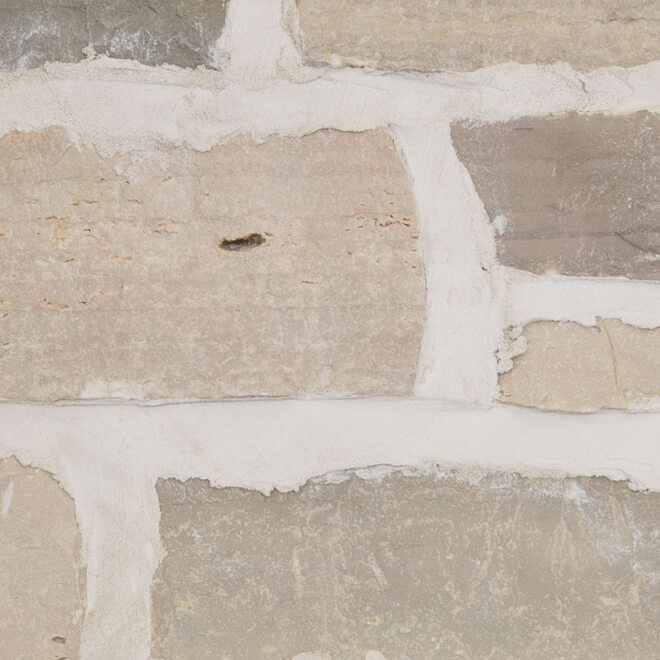
Mortar overlaps the edges of the stones, making the joints appear wider.
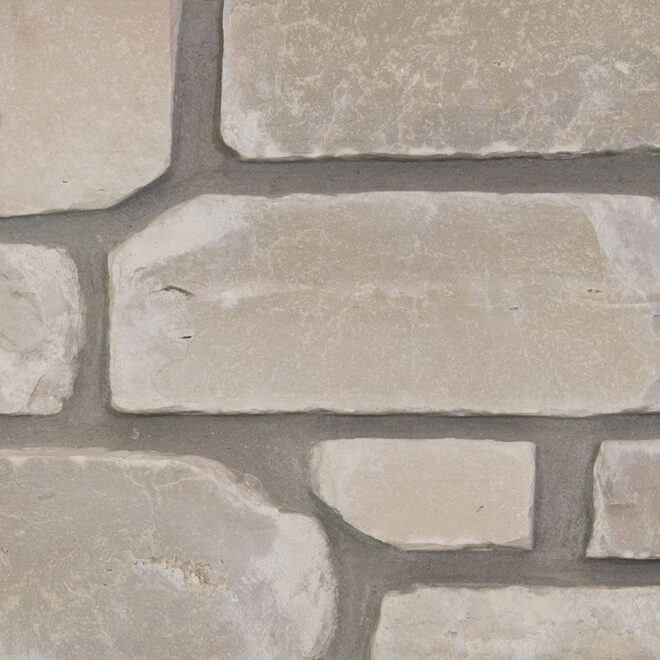
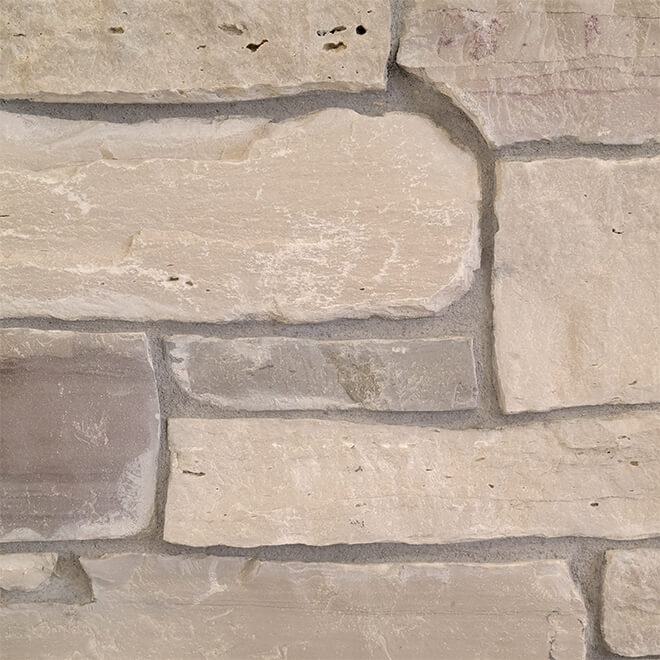
JOINT SPACING
![](https://www.hedberghome.com/wp-content/uploads/dry-stack-mortar-treatment-options-hedberg.jpg)
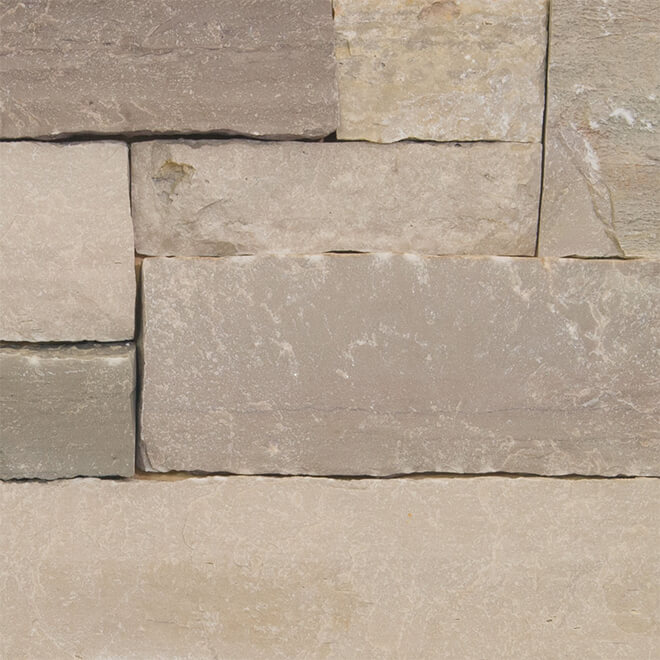
Stone is installed stone on stone; minimal or no mortar should be visible
![](https://www.hedberghome.com/wp-content/uploads/tight-joint-mortar-treatment-options-hedberg-1.jpg)
Roughly a ¼-inch spacing or tighter.
![](https://www.hedberghome.com/wp-content/uploads/standard-joint-mortar-treatment-options-hedberg-1.jpg)
Roughly 3/8-inches to 1/2-inch
![](https://www.hedberghome.com/wp-content/uploads/STONES_4OVALS_web_thumb-1.jpg)