If you’re installing the thin brick product on an exterior project, we recommend you follow the Brick Industry Association Technical Notes on Brick Construction, at www.gobrick.com. That being said, the current building code requires a moisture barrier such as 2 layers of tar paper or two-ply 60-minute grade D paper be applied directly to the building’s surface. Be sure to lay the tar paper from the bottom up so that the top sheets overlap the bottom. Overlap 2″ on the horizontal seams and 6″ on the vertical seams. Check your local building code for other specific moisture barrier requirements in your area.
Directly over the tar paper, or directly over the sheeting on an interior project, cover the area with wire lath. A 3.4 diamond wire lath is recommended.
Hang the lath horizontally.
Overlap the lath at least 6″ on the vertical seams, and at least 2″ on the horizontal seams.
The lath should feel rough as you run your hand up over it, and smooth as you run your hand down over it.
Use a hammer and 1 3/4″ roofing nails, or an air stapler to fasten the lath to the studs every 6″. Then use an air stapler or a hammer tacker to fasten any loose areas or bulges between the studs.
Cut the lath using tin snips.
When working with corners, fold the lath tightly around the corner, and overlap a new piece on the other side as you would anywhere else. This rule applies for inside corners also; fold the lath at a 90-degree angle and fit it tightly into the corner, overlapping the lath on each side.
Never have a seam in a corner.
It is very important to nail the lath on both faces of the corner.
You will need to mix three separate batches of cement, one for the scratch coat, which works for interior and exterior applications, and one for the mortar, and one for the grout. Each requires a specific ratio of sand, and either Portland or Masons cement.
Scratch Coat – 1 part Portland cement to 21/2 parts sand.
Mortar – 1 part Portland cement to 2 parts sand for interior. (For exterior we recommend Masonry Veneer Mortar by Twin City Materials, or Laticrete.)
Grout – 1 part Masons cement to 2 parts sand.
Note: An alternative cement for interior work only is to use “Type M” cement for the scratch coat, mortar, and the grout. The ratios of cement to sand remain the same. Pre-mixed mortar is okay too.
Dry mix the sand and cement together with a hoe in a wheelbarrow or mud box. This will avoid creating clumps in the mixture.
Slowly add water to the mixture a little at a time and continue to mix. You can always add more water later, but if you add too much, the mixture will become runny and unusable.
Continue mixing the cement adding small amounts of water as needed until it has the consistency of paste.
Use a masonry trowel to spread an even layer of cement over the wire lath. Cover the entire area of lath with the cement mixture. Work the cement into the holes of the lath and scrape off the excess.
While the cement is still slightly wet, use a soft bristled brush to rough up the scratch coat a little. This will give the brick a better surface to grab onto. Virtually no cement should be removed with the brushing process.
Let the scratch coat dry before going on to the next step. Drying time will depend on temperature, humidity, and airflow, and could take anywhere from 2 to 24 hours. You’ll know it’s dry when it turns a light gray color.
When the scratch coat has dried, snap chalk lines to course out the brick. Snap chalk lines every 5 1/2″ for new pattern brick, and every 5 3/4″ for used pattern brick. This includes enough room for 2 bricks, and grout joints.
Mix a batch of mortar, using 1 part Portland cement and 2 parts sand.
Lay alternate courses below each chalk line, keeping end joints plumb. Wait until the bricks have dried before laying the other rows to prevent accidentally nudging the bricks above and below out of place.
Work from the top down to prevent cement from dripping on bricks beneath.
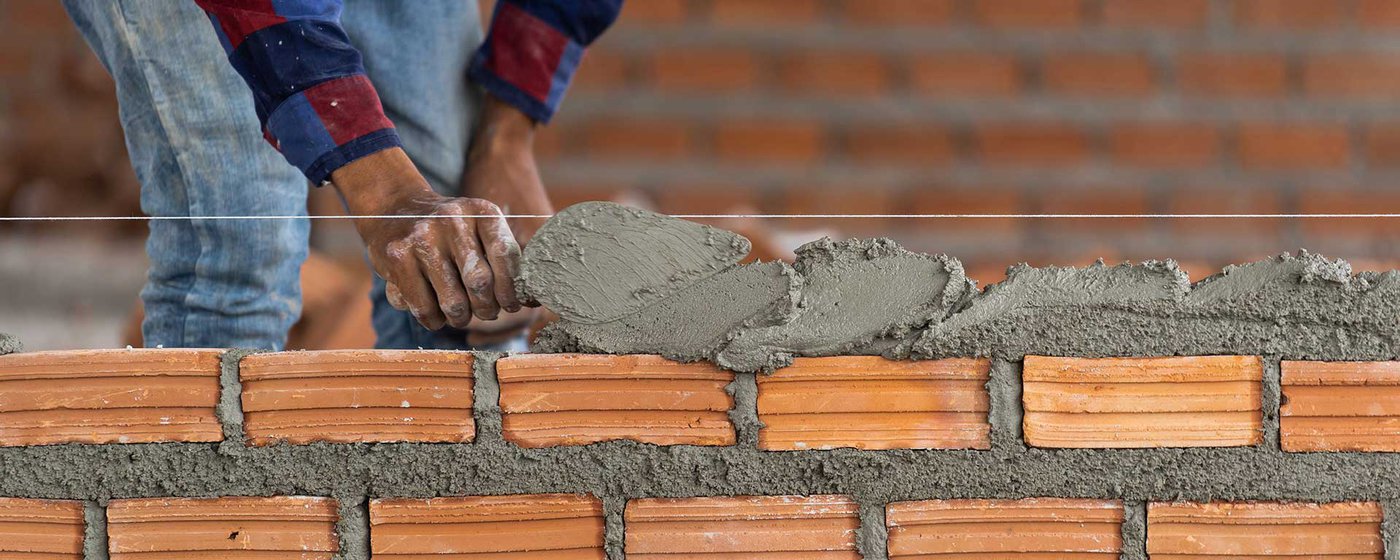
To lay the brick, use a trowel to spread about a 1/2″ layer of mortar to the back of the brick. Lay the brick against the wall, press and shake it gently into place.
There are no special pieces for working on inside corners, just meet the two pieces together.
Any power saw with a masonry blade will work. This cutting will be very dusty, so be sure to wear safety glasses and a dust mask and do all the cutting outdoors.
Mix a batch of cement with 1 part Masons cement and 2 parts sand.
Cut about a 3/8″ – 1/2″ hole in the tip of your grout bag. It’s best to start by cutting a smaller hole, and you can always cut more later, but if the hole is too big, the cement will drip out and stain the brick.
Fill your grout bag about half full of the grout mixture.
Twist the top end of the bag and squirt some grout back into the bucket. This will prevent air pockets from causing the grout to accidentally squirt out explosively.
Keeping the top end of the bag twisted, gently squeeze the grout into the joints. Fill all the gaps between the bricks with about a half-inch layer of grout. The grout will tighten and seal up the area around the brick.
Let the grout dry until it is firm but not solid. You want to be able to push on it without leaving fingerprints, but don’t let the grout turn gray or it will be very difficult to strike.
We recommend using a hardwood stick such as oak for striking. Keep the sticks square by cutting the tops off them if they get worn down.
Striking the grout gives your project a finished look. Use your striking stick to scrape along the joints until the grout has a clean, even look to it.
The grout should crumble away like sand. If it smears, or crumbles away in large chunks, that means the grout is still too wet.
Finally, use your soft bristled brush to sweep the dust off the brick.
Additional Notes:
It is imperative for exterior construction to include movement joints and to space no more then 18 ft in either direction, and 144 sq ft, or a length to height ratio of 2.5 to 1. As specified in the Brick Industry Association Technical Notes on Brick Construction at www.gobrick.com.